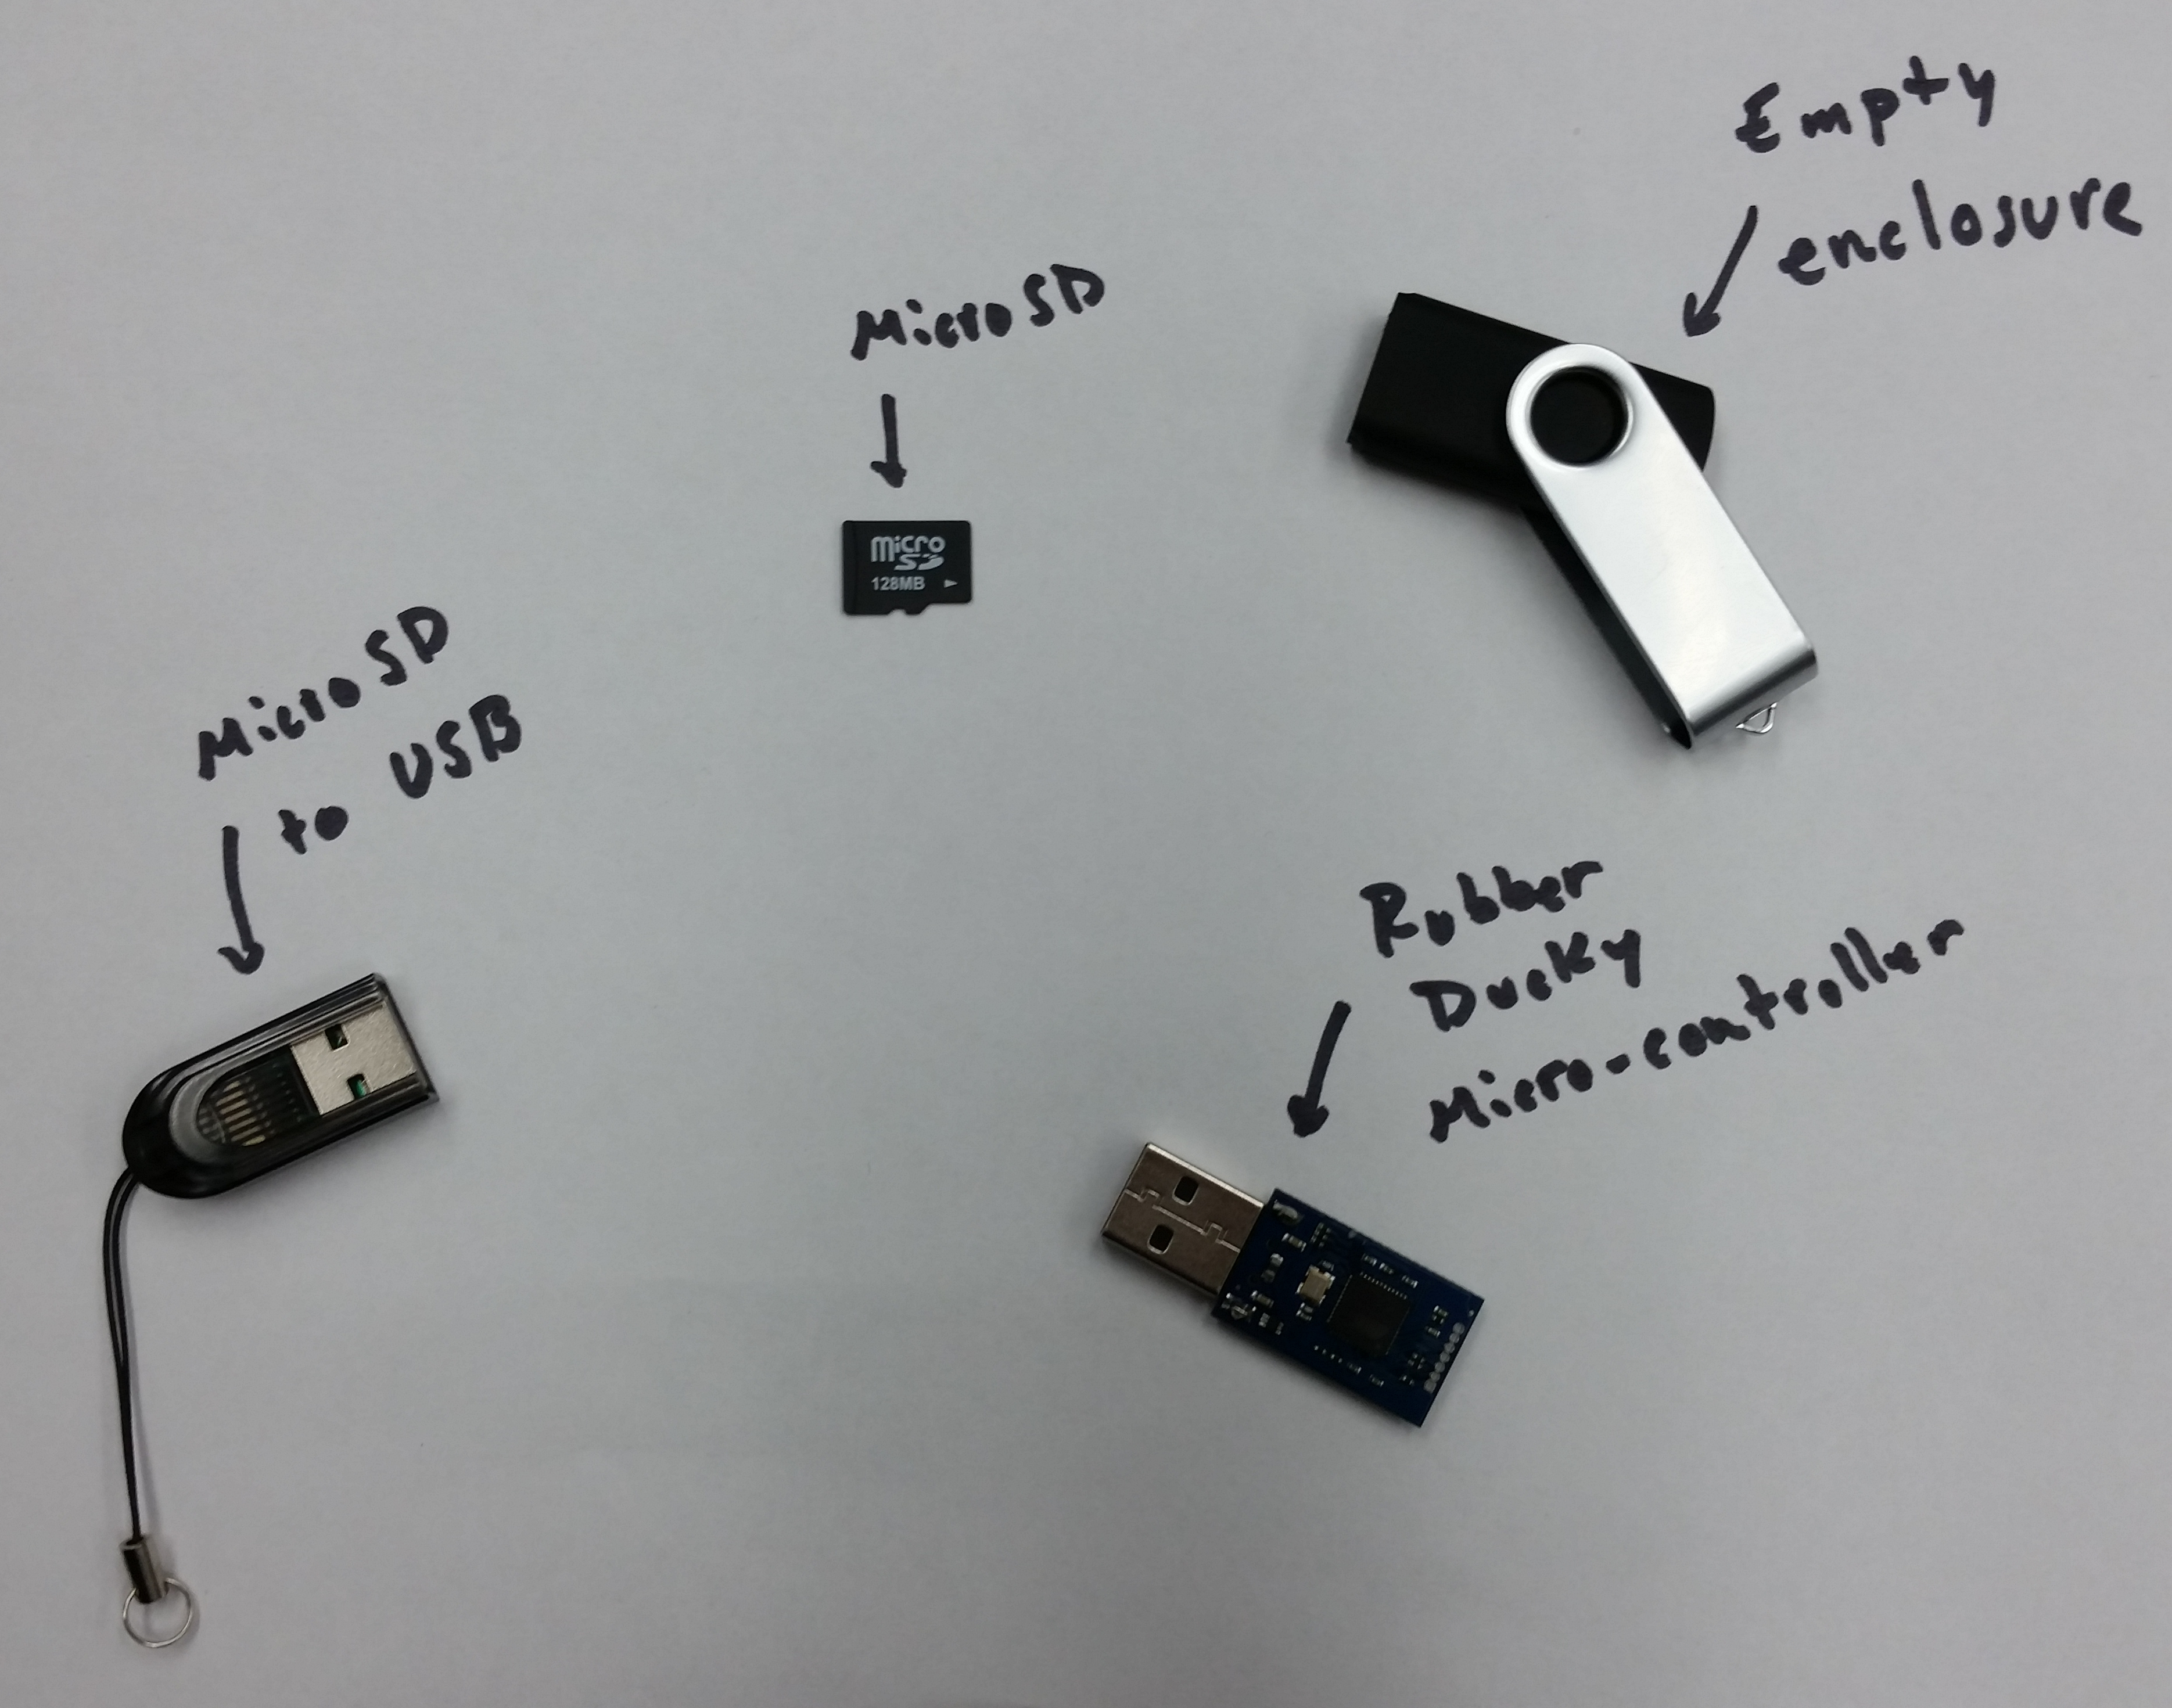
Introduction to Rubber Ducky
The Rubber Ducky is a microcontroller USB that acts like a keyboard when plugged into a computer. It executes a set of instructions that you load into it; however, it is not possible to load other kinds of executables into the Ducky and have the victim computer run them. When creating a Rubber Ducky executable, you have to pretend you're at your victim's computer typing. You can do anything with the Rubber Ducky that you could do with a keyboard, such as opening a command line or powershell and running a few commands for example, so the possibilities are nearly endless.

Writing our first DuckyScript file
The heart of Rubber Ducky is the simple scripting language used to create payloads.
Here's the list of commands:
- REM
- DEFAULT_DELAY
- DELAY
- STRING
- GUI
- MENU
- SHIFT
- ALT
- CONTROL
- LEFTARROW
- RIGHTARROW
- DOWNARROW
- UPARROW
- BREAK
- CAPSLOCK
- DELETE
- END
- ESCAPE
- HOME
- INSERT
- NUMLOCK
- PAGEUP
- PAGEDOWN
- PRINTSCREEN
- SCROLLOCK
- SPACE
- TAB
Let's create a simple Rubber Ducky payload that opens notepad and types in "Hello students!"
Create a folder called "RubberDucky" and save everything partaining to Rubber Ducky there. Open your favorite text editor and type in the following:
					REM This only works against a Windows victim!


					GUI r


					DELAY 100


					STRING notepad.exe


					ENTER


					DELAY 100


					STRING Hello students!
Save the file as inject.txt to your "RubberDucky" directory, and congratulations! You have just created your first DuckyScript. In the next section, we'll cover how to encode and deploy the script onto your Ducky.
Getting the payload to the target
So, you've got yourself a script. Now what? The following steps will demonstrate how to get your script deployed on the Rubber Ducky...
- If you don't have Java installed, you'll want to get it, because the encoder that translates DuckyScript is part of a jar file. You can download Java here.
-
Next, download and unzip the USB-Rubber-Ducky zip file.
Make sure that the unzipped folder resides in the same directory as your inject.txt file, or you'll need to edit the command in step 5 to compensate. -
Open a command prompt* or terminal**.
*On Windows, press WIN+R. Then type "cmd" and hit ENTER.
**On Ubuntu Linux, press CTRL+ALT+T.
For other operating systems, please see your OS-specific documentation. - In the prompt or terminal, navigate to the directory you unzipped the Rubber Ducky zip file to, then to the Encoder directory within it.
-
Type or copy & paste "java -jar encoder.jar -i ../../inject.txt -o ../../inject.bin" without the quotes and hit enter.
You should see a short printout telling you that everything went okay. If not, you'll need to troubleshoot before moving on to the next step.
If you can't get this to work, you can also try this third party online encoder. - Once you have an inject.bin file (it should be in the same directory as your inject.txt file if your command was the same), you'll need to transfer it to the MicroSD card via the MicroSD to USB adapter.
- After the inject.bin file is on the MicroSD card, insert the card into the Rubber Ducky microcontroller.
- Insert the Rubber Ducky microcontroller into the empty enclosure.
- Insert the Rubber Ducky into the victim's computer to test out your script.
That's it!
Now you can have fun making your own payloads. Go on, take a quack at it. ;)